One-time setup
Before users can interact with your data, the Qbo app in Microsoft Teams needs access to an existing Qbo instance.
Attention
If you are using a on-premises or third-party cloud installation of Qbo, you’ll need personalized assistance to connect it to Microsoft Teams. Please contact us at helpdesk@unscrambl.com.
This section will walk you through setting up a connection to a SaaS Qbo instance. These steps need to be performed only once, unless you need to disconnect and connect to a new Qbo instance.
Configure Qbo
The following steps assume that you have already added the Qbo app to Microsoft Teams. We recommend that you use personal scope to perform the following steps.
Note
You can only connect a Microsoft Teams organization to one Qbo instance.
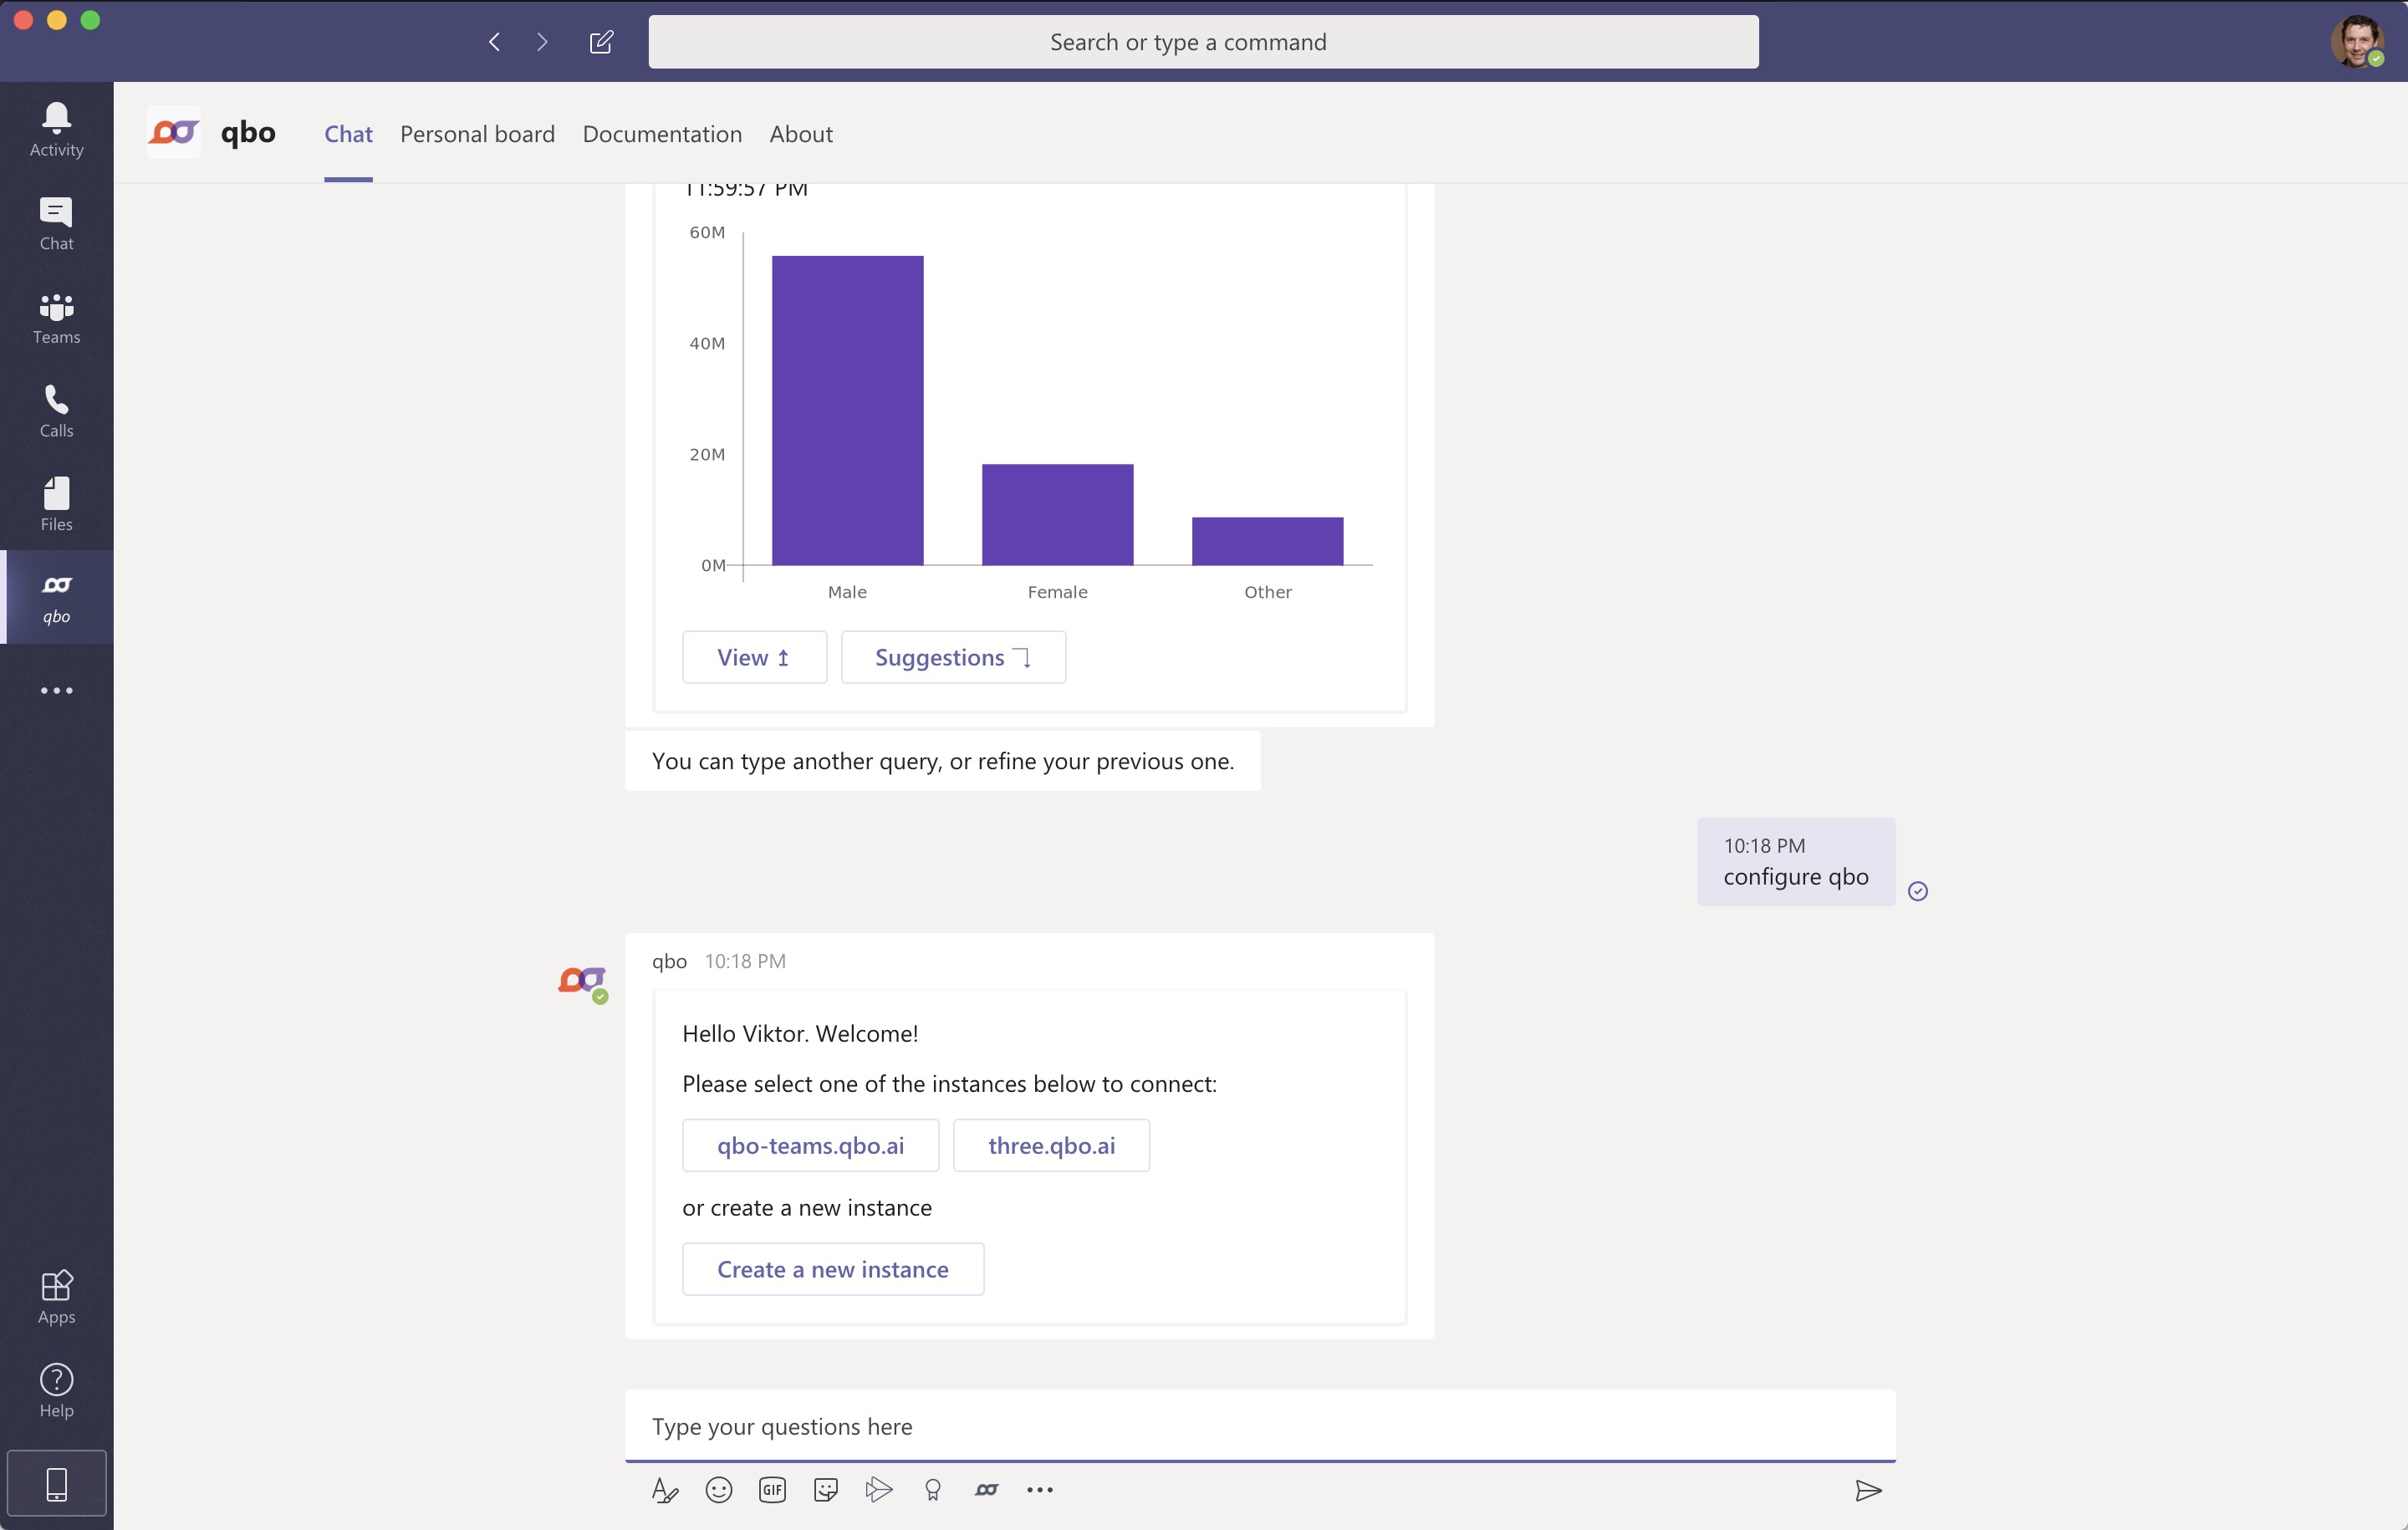
In Microsoft Teams, send a configure qbo message to Qbo.
Note
Qbo uses the domain name of your email address to find a list of your organization’s instances.
Qbo instance already exists but isn’t connected
The Qbo app displays a list of available SaaS instances and the option to create a new Qbo instance.
Click a Qbo instance.
Enter sign-in information.
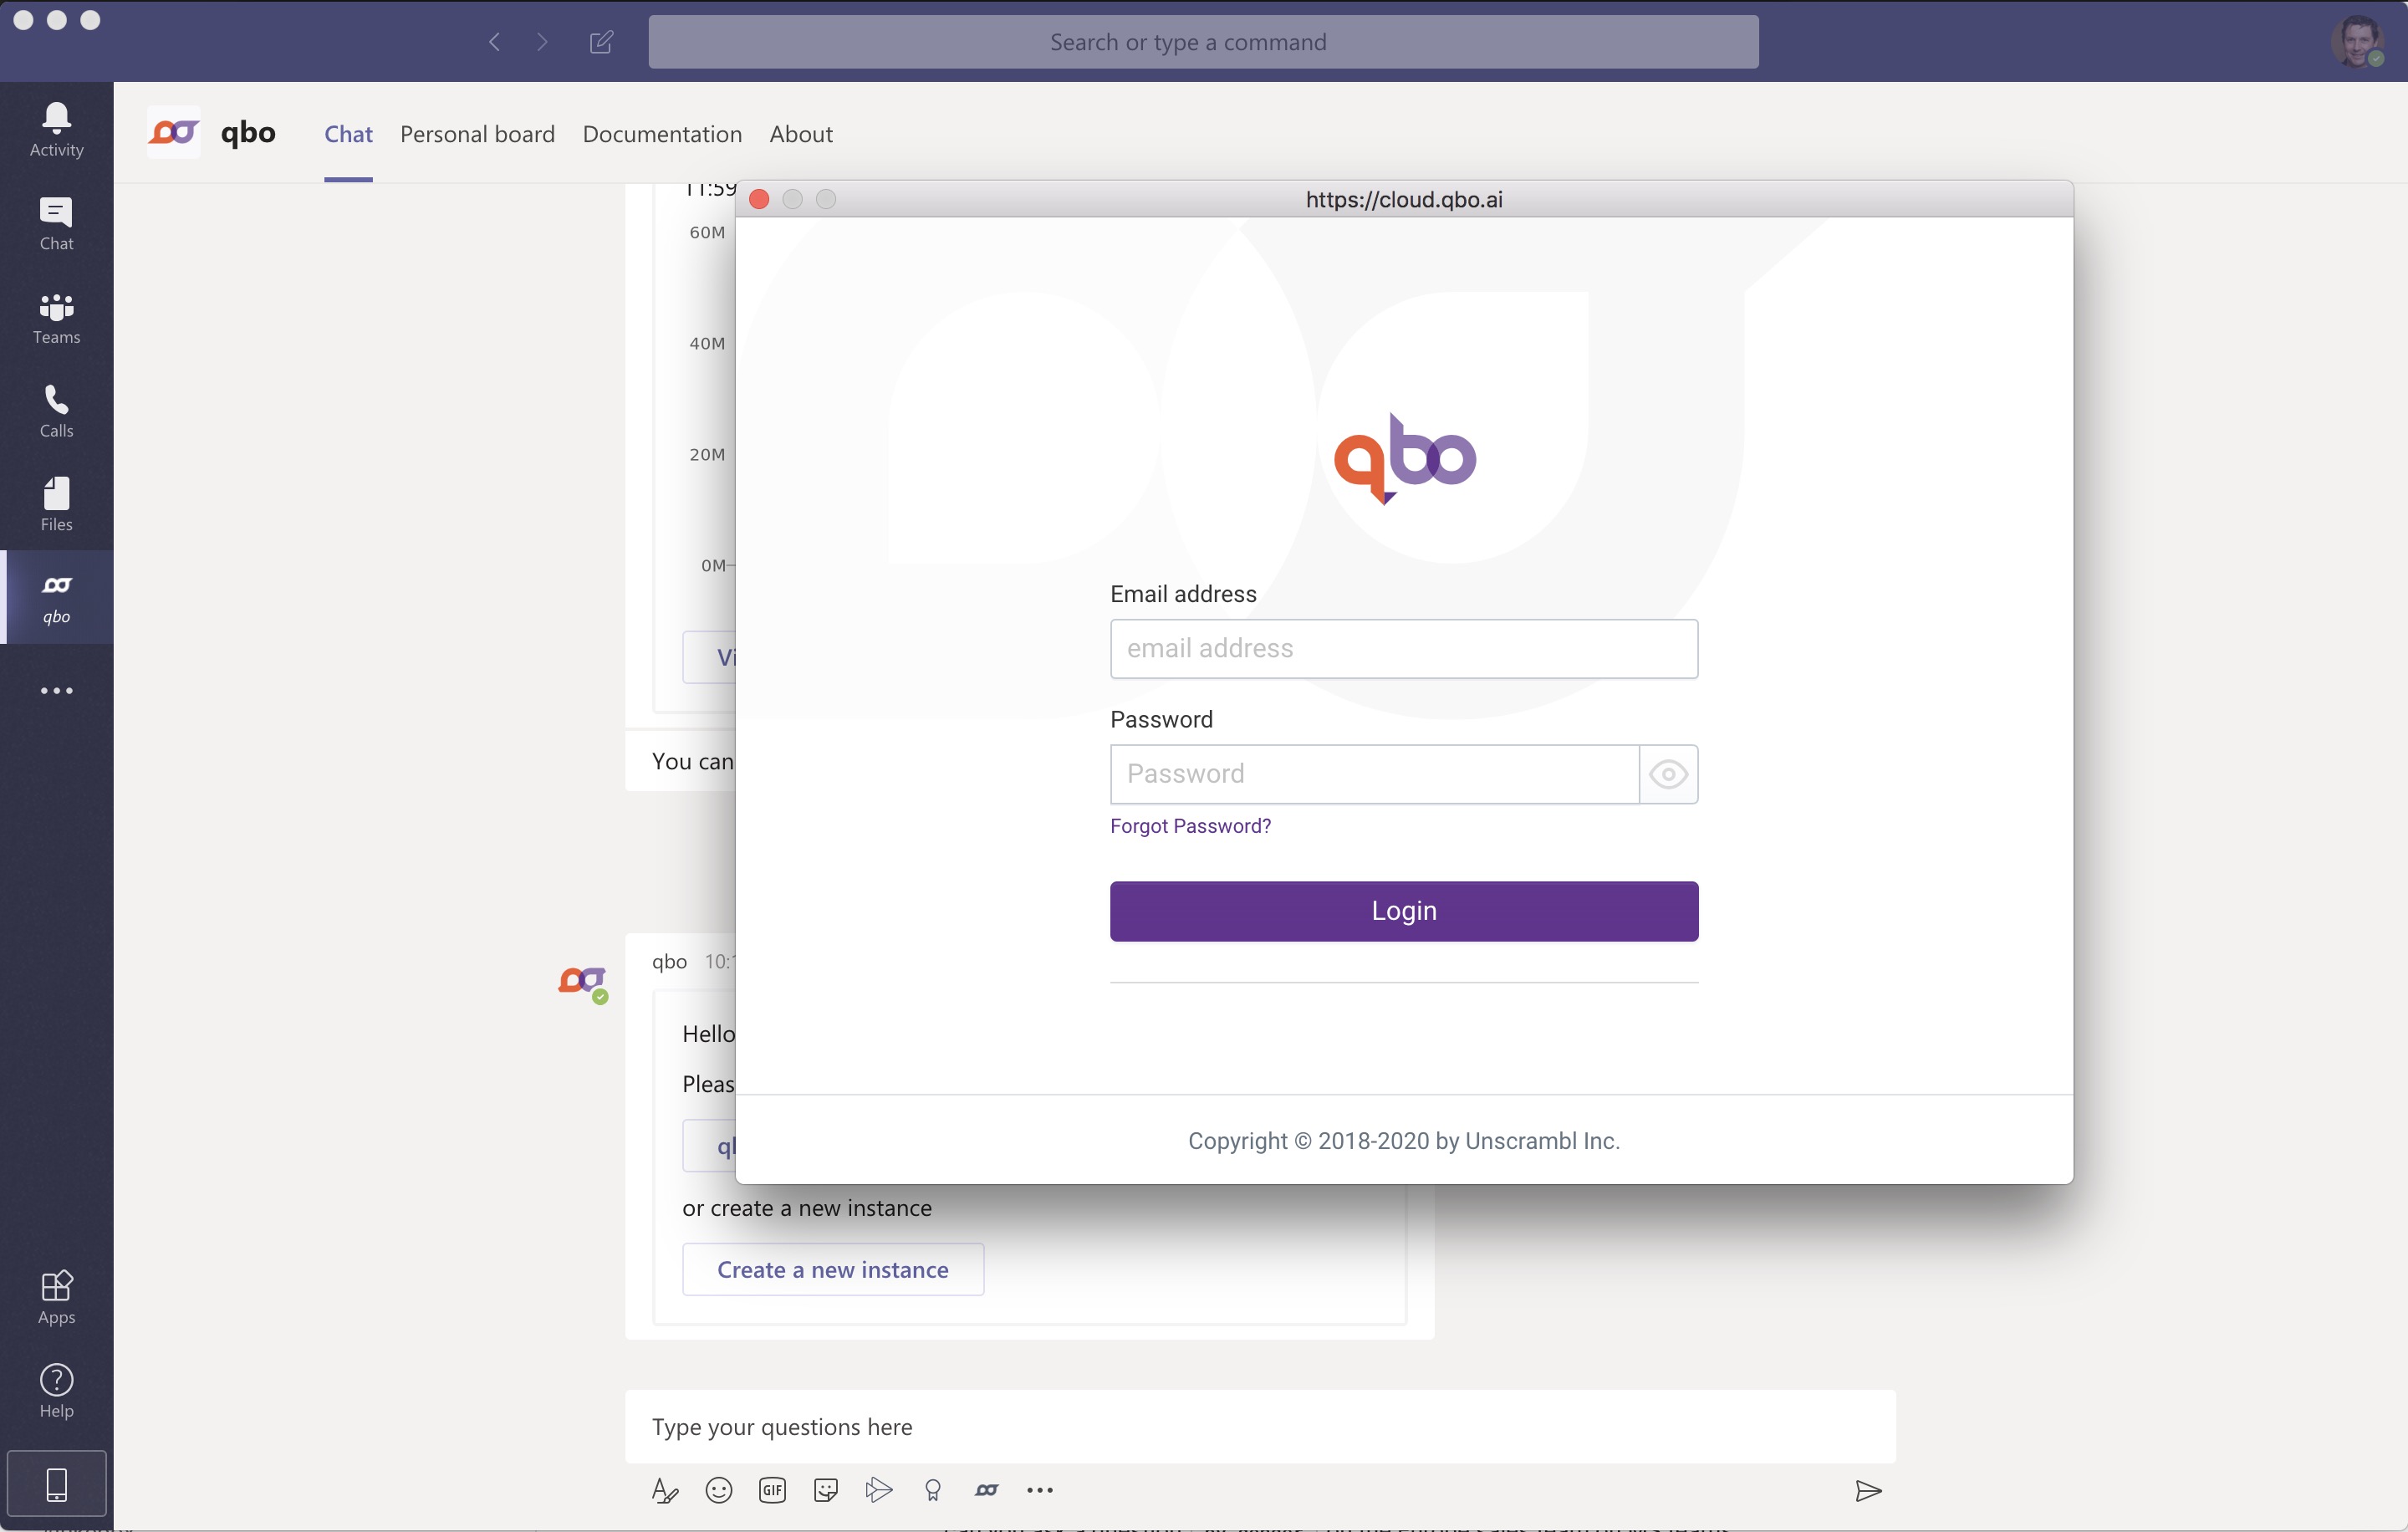
The Qbo app connects to the Qbo instance.
Qbo instance doesn’t exist yet
The Qbo app responds with a link to Qbo’s SaaS site.
Click on the link.
Sign in or sign up for a free trial.
Create and configure a new Qbo instance for your organization.
Qbo instance exists and is already connected
The Qbo app responds with an option to disconnect from the current Qbo instance.
Click on the link.
Sign in to the instance to disconnect.
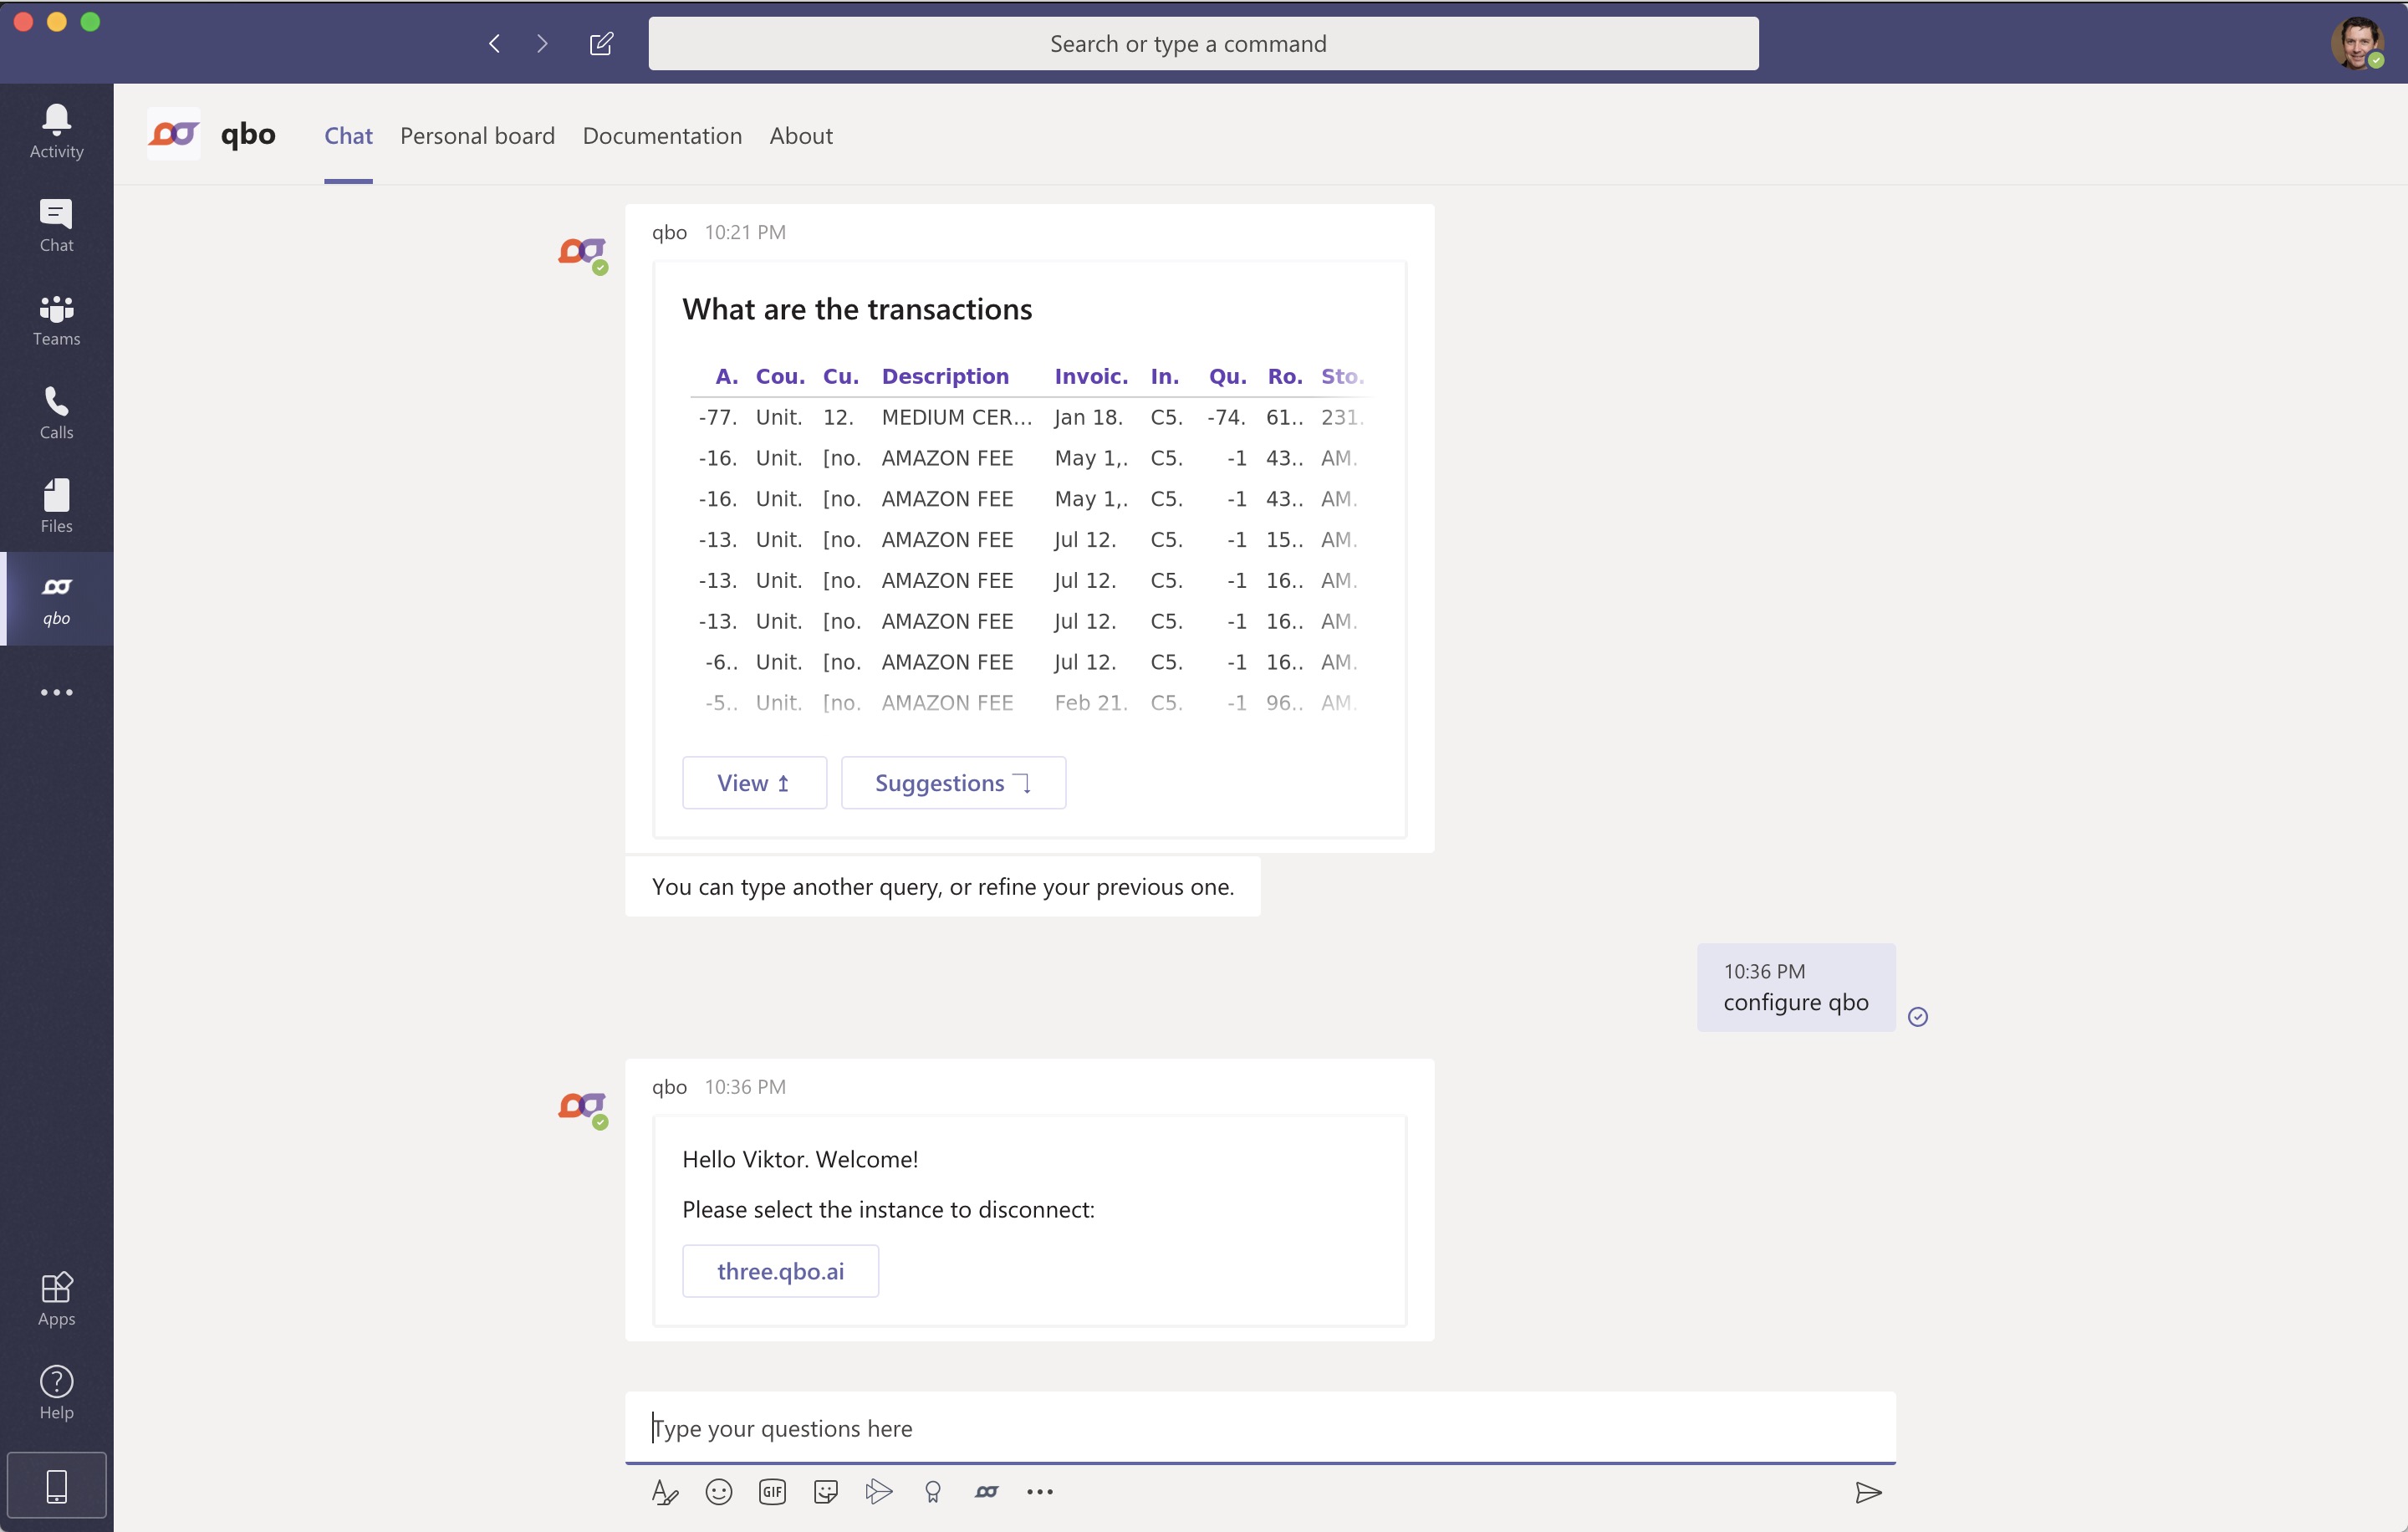
You can now connect to another Qbo instance.