Configure data source
Add new data source
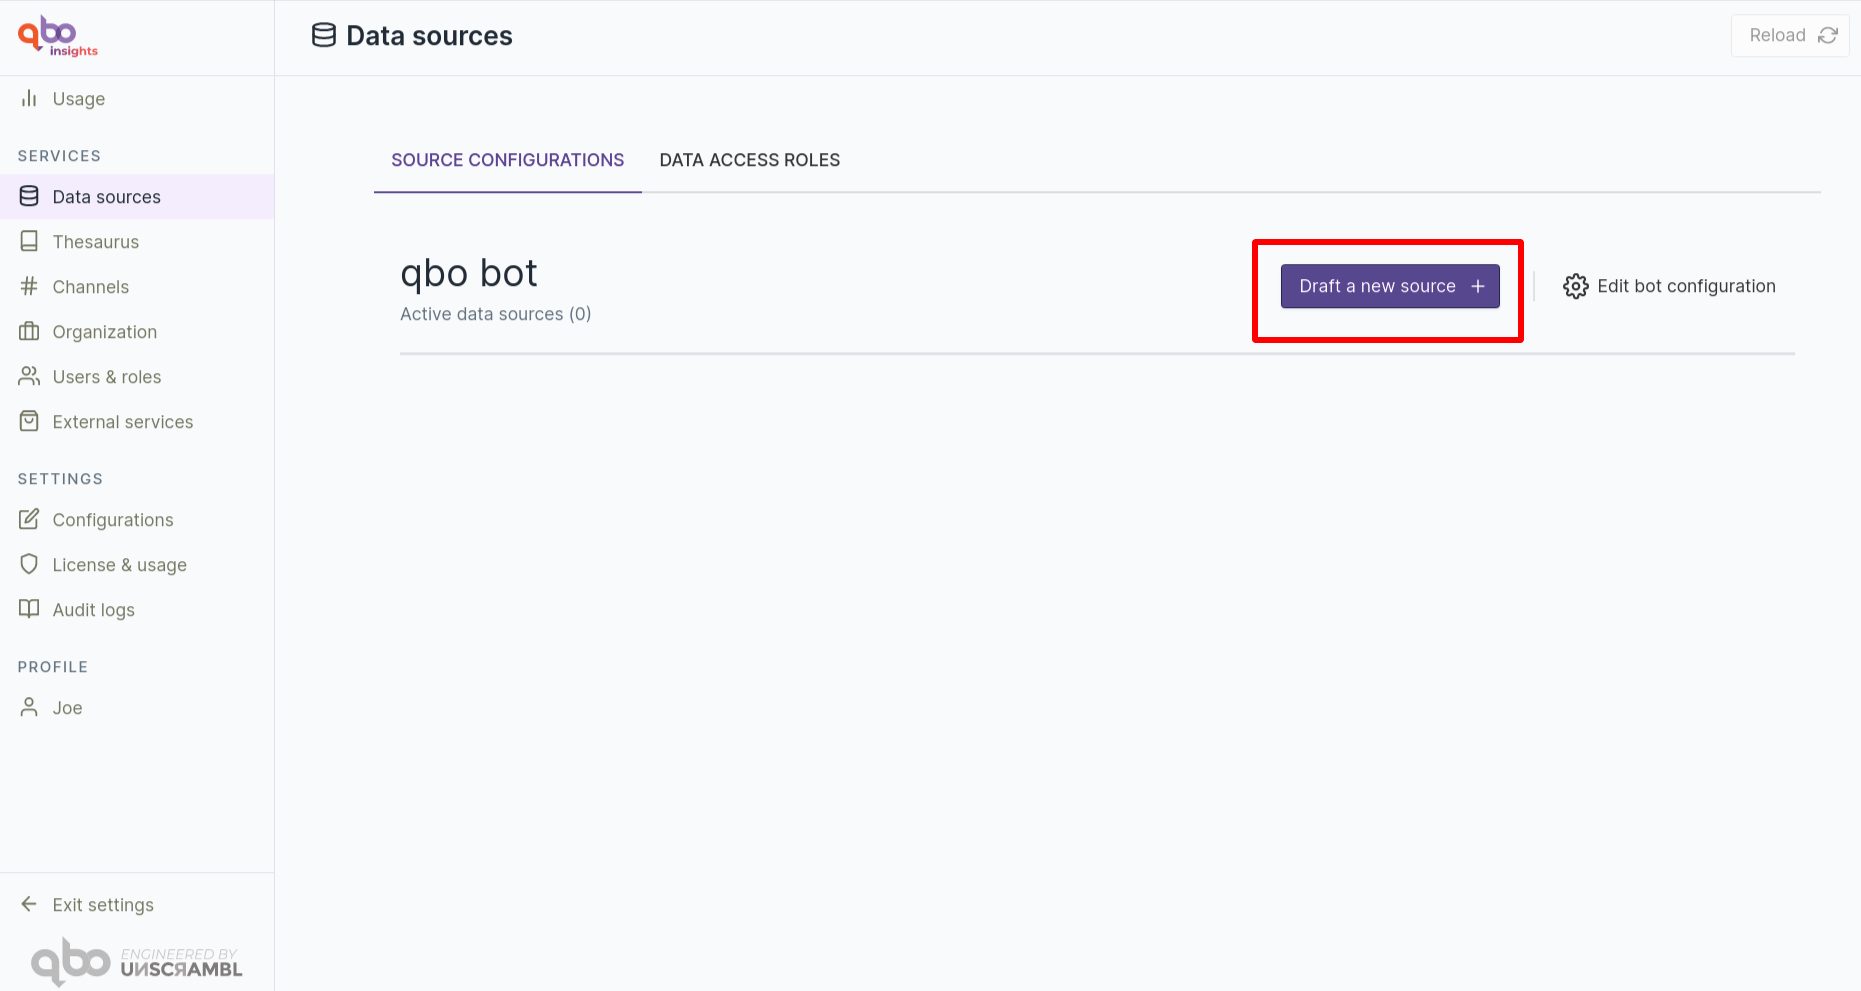
To add a new data source, you have to click on the Draft a new source + button.
Qbo supports many data sources. i.e. On-premise, On the cloud,or file upload. Here we are going to use Excel (File upload) as a data source. If you have an excel file available then use that, if not click here to download excel data. We added a retail sample dataset containing four sheets customer, orders, products, and orderproduct data.
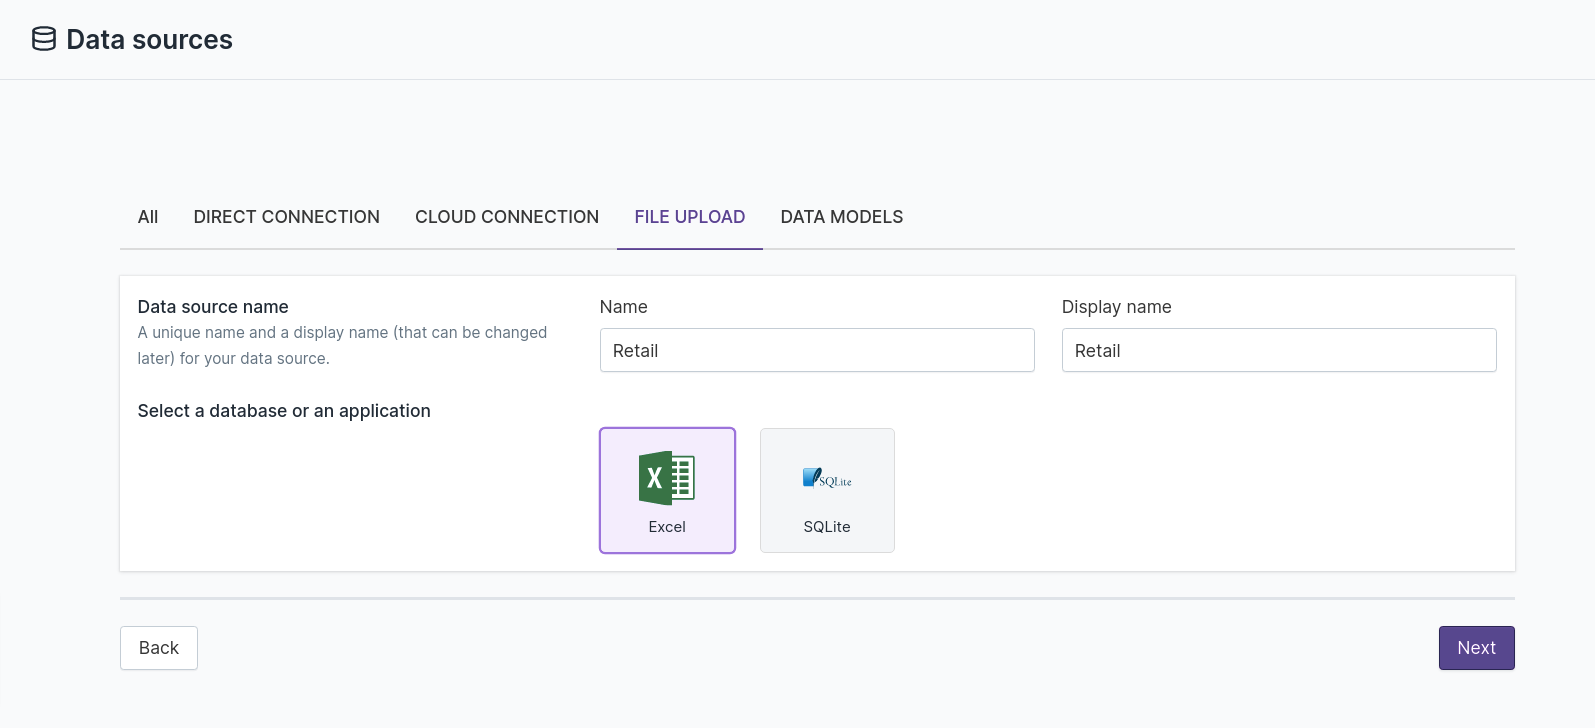
To use Excel data source, go the FILE UPLOAD section after clicking on the Draft a new source + button,
select Excel as a data source and give unique Name and Display Name for a data source, click on
Next button.
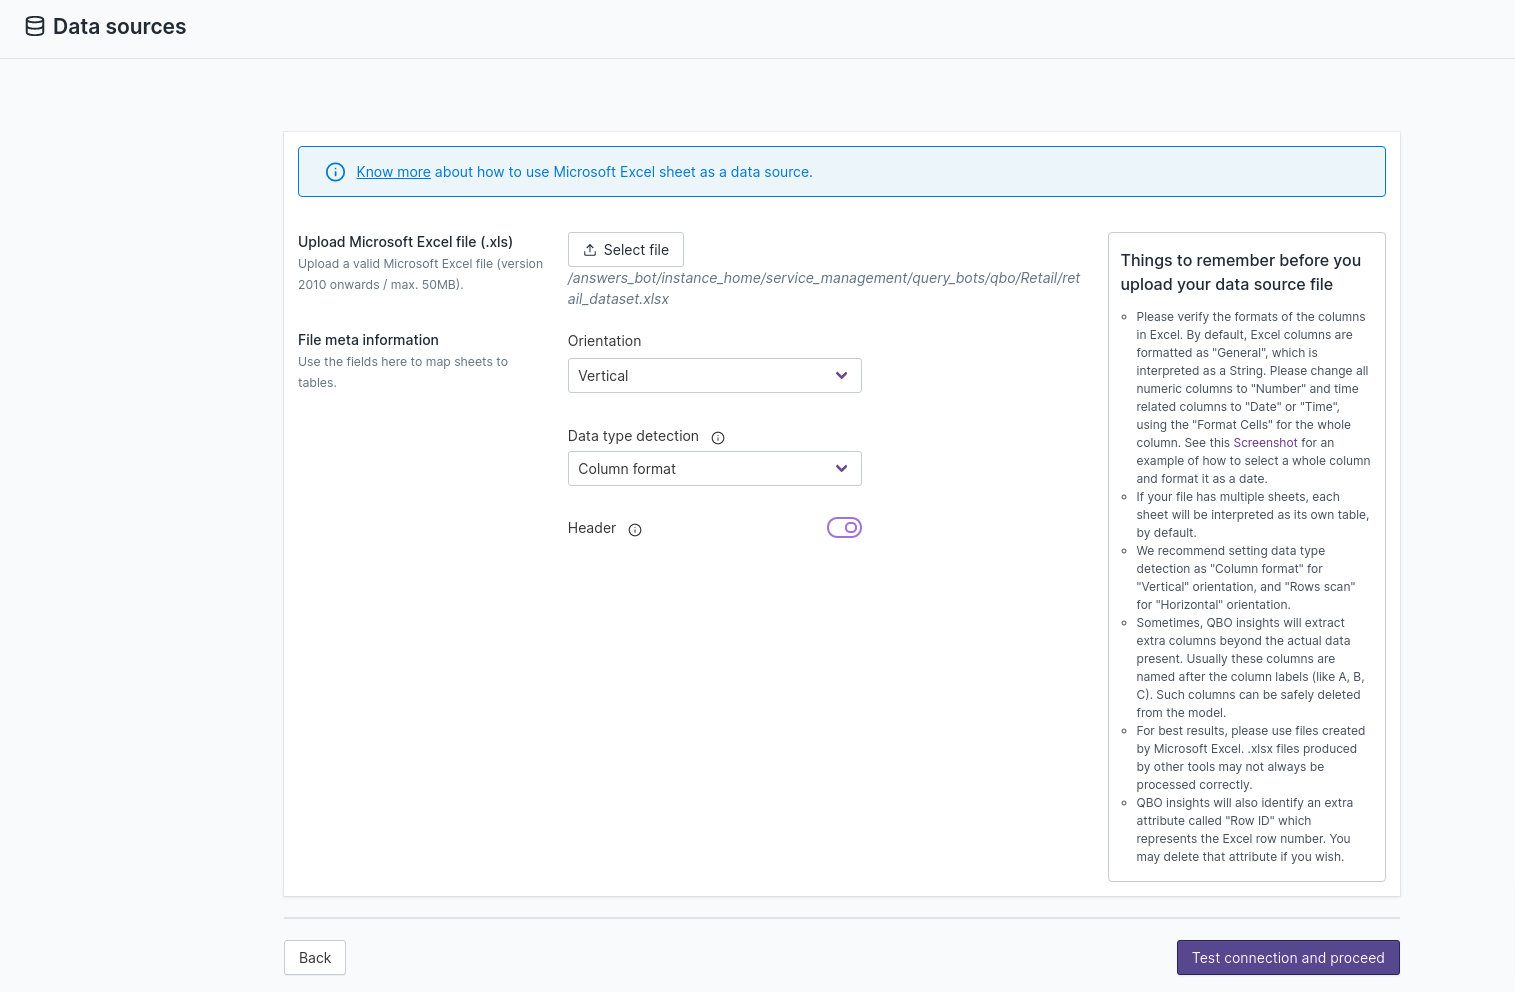
Upload the excel (.xlsx) file you have, update File meta information if required, and enable Header to identify your attributes, then click on Test connection and proceed button.
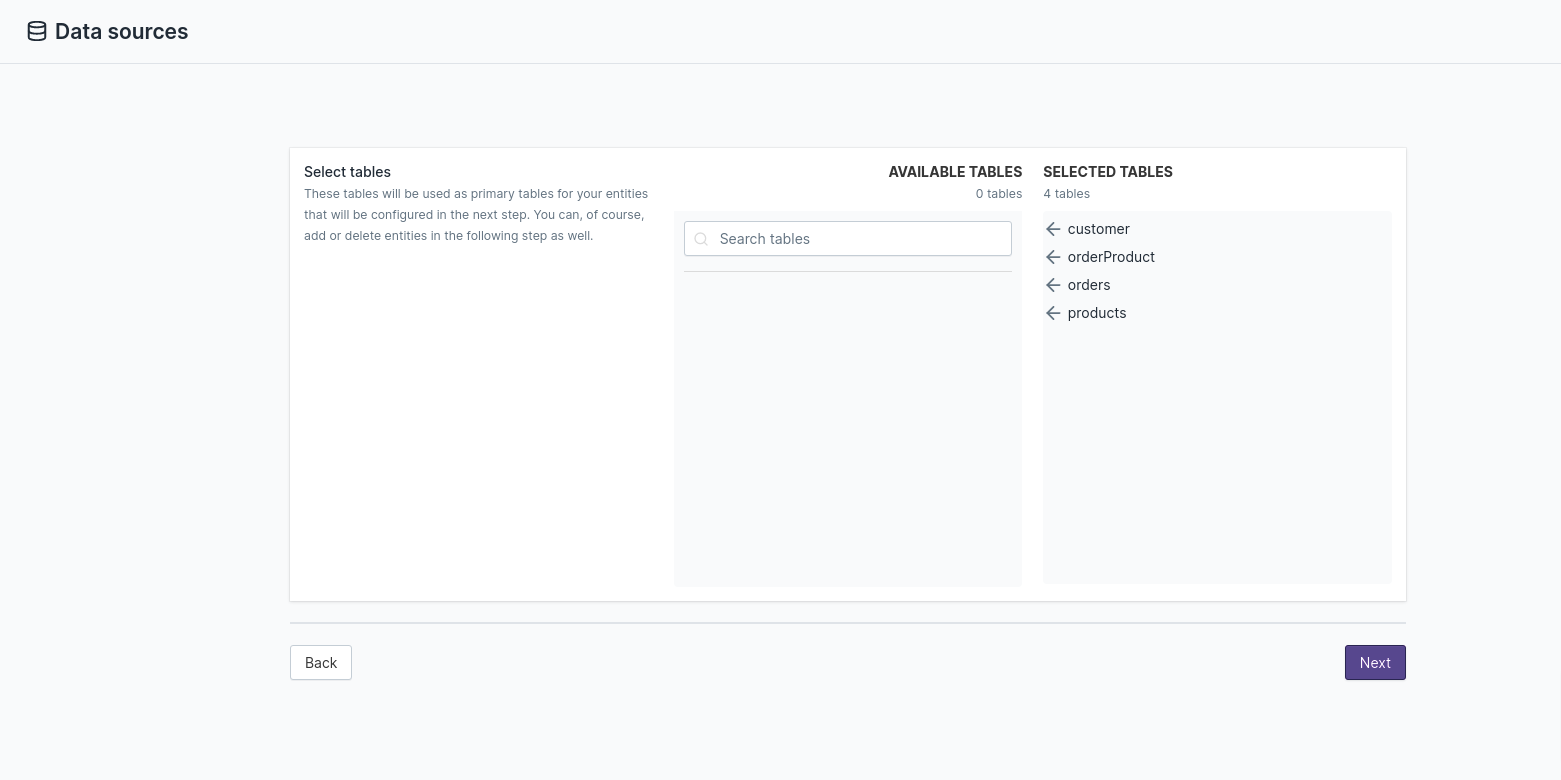
Once you are successfully connected with excel data, select the required table and click on Next button.
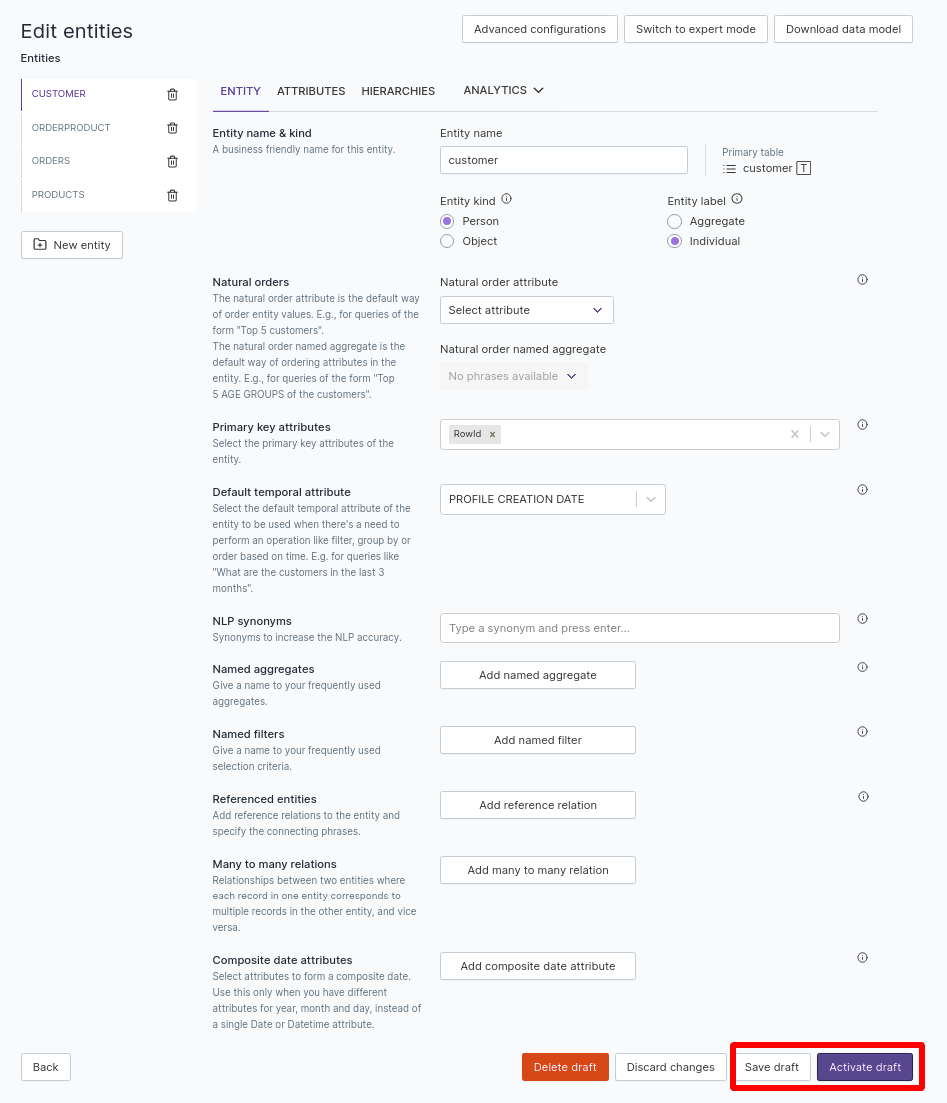
Now you have a draft version of your data source is available, you can rename an entity’s name if you want and set the
Primary key attributes (you have RowId attribute already set as default primary key attributes remove it and
set another attribute as primary key attributes) and Default temporal attribute for an entity, then click on the
Save draft and Activate draft button to save your changes.
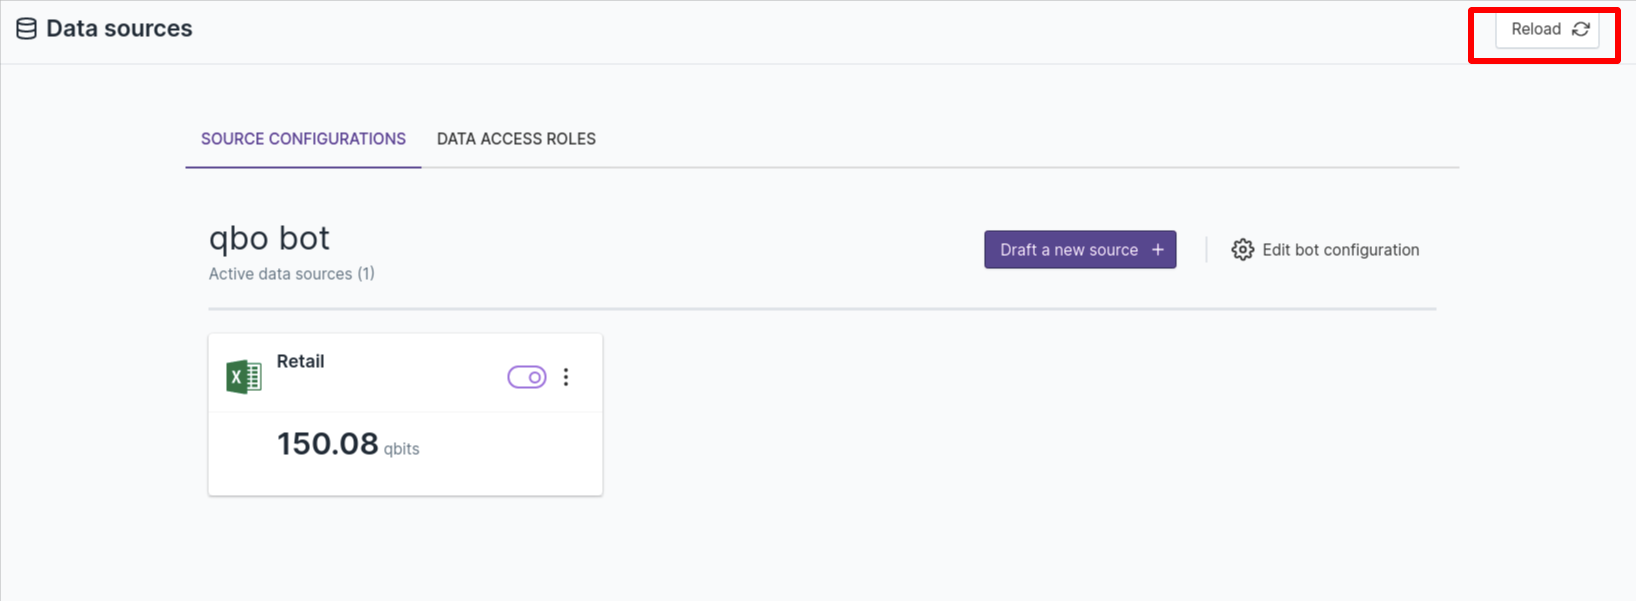
Once the draft is activated successfully, you need to reload your data sources to reflect your changes, to reload click on Reload which is present at the right top corner.
Note
Things to remember before you upload your excel file:
Please verify the formats of the columns in Excel. By default, Excel columns are formatted as General, which is interpreted as a String. Please change all numeric columns to Number and time-related columns to Date or Time.
Qbo insights will also identify an extra attribute called Row ID which represents the Excel row number. You may delete that attribute if you wish.
Configure Entity Metrics
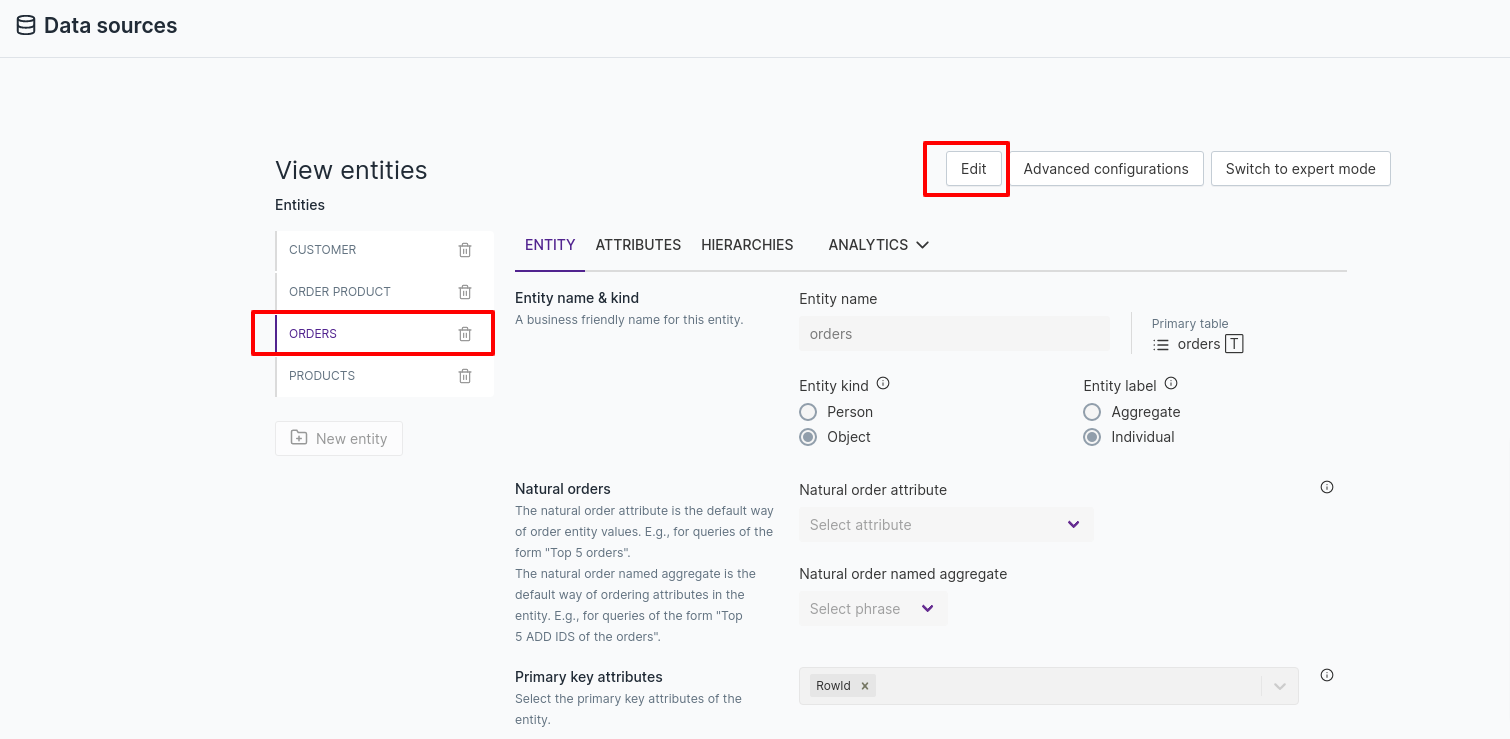
Select Orders entity and click on Edit button
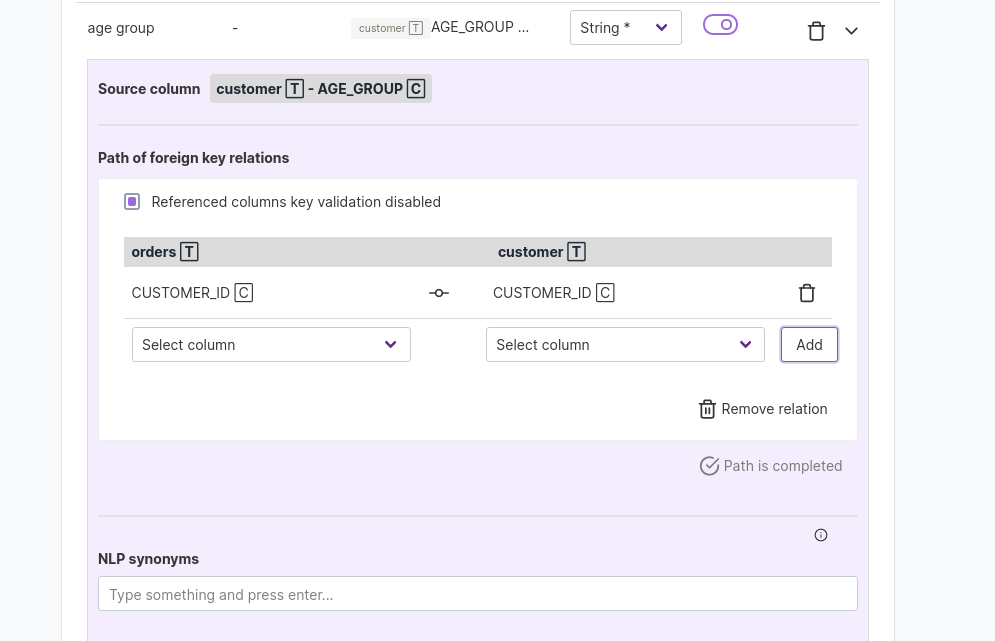
Path of foreign key relation:
Bring attributes of product and customer entity into order entity so that we can easily ask questions like
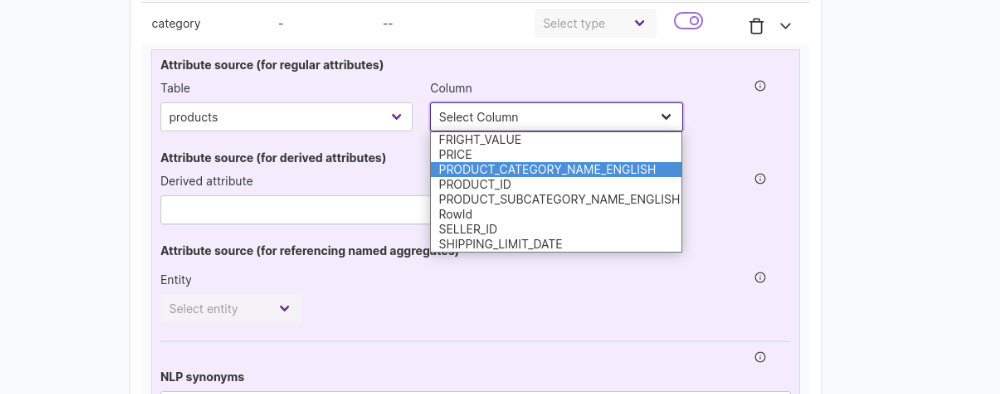
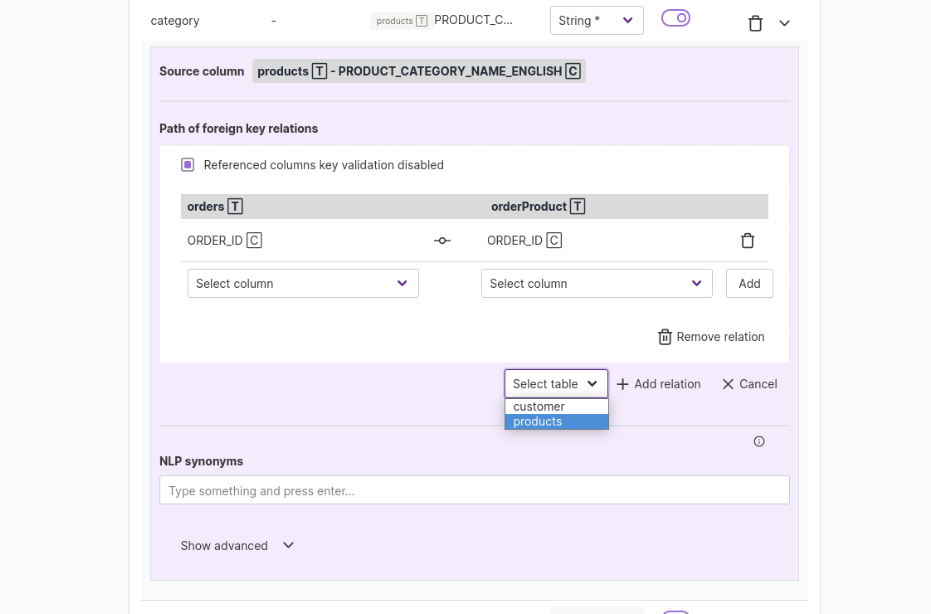
Top 5 product categories by order count,count of orders by stateetc.1 Go in attribute section of order entity.
2 At the bottom of attributes you will find a text editor to add an attribute.
3 Give a name to attribute that you want to bring in.
4 click on + button (Right most in the same row).
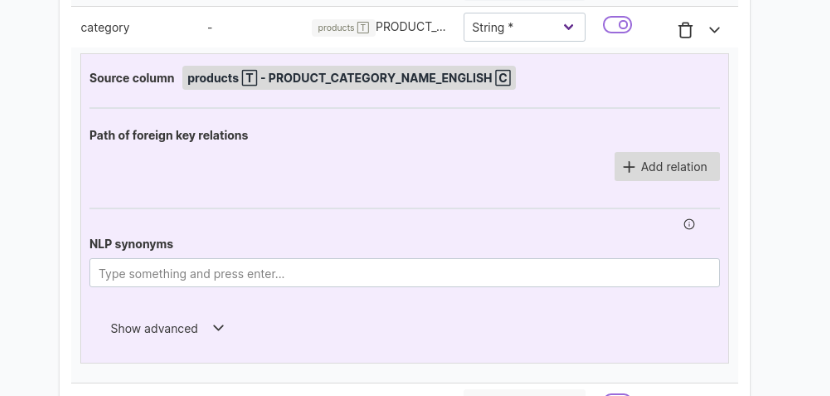
5 Choose the table and attribute that have to bring in order entity.
6 click on
Add relationbutton.7 Add relation between tables
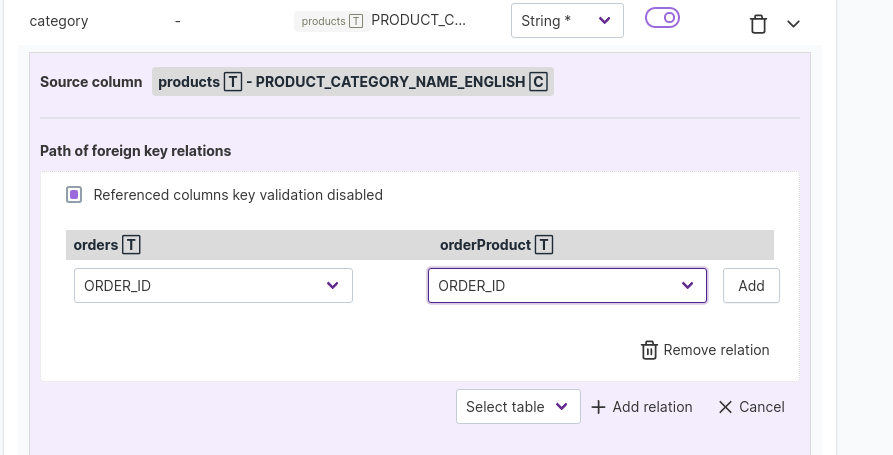
8 Click on add button to add the relation between order and OrderProduct.
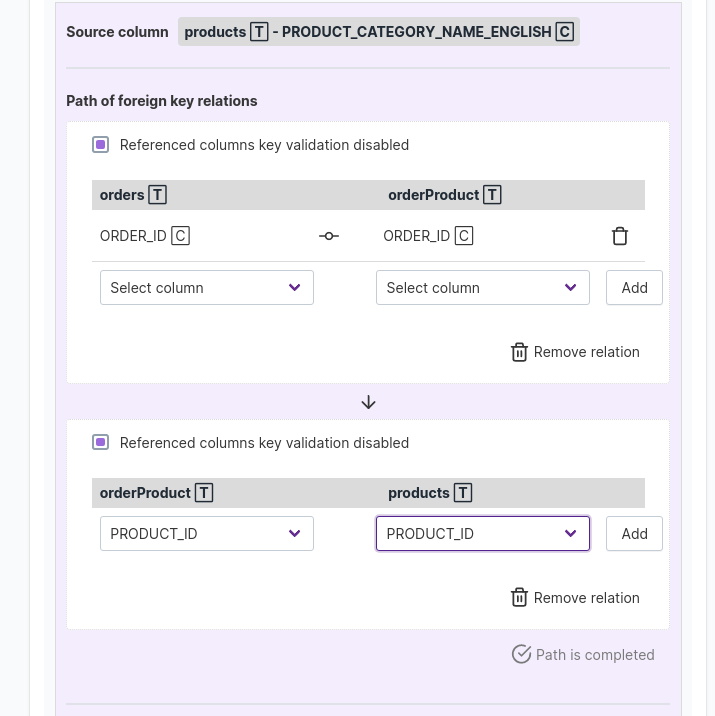
9 Check Reference columns key validation disabled box
10 Now select product table from select table dropdown and click on Add relation button.
11 Provide relation between OrderProduct and Product table and click on
Add relationbutton12 Check Reference columns key validation disabled box
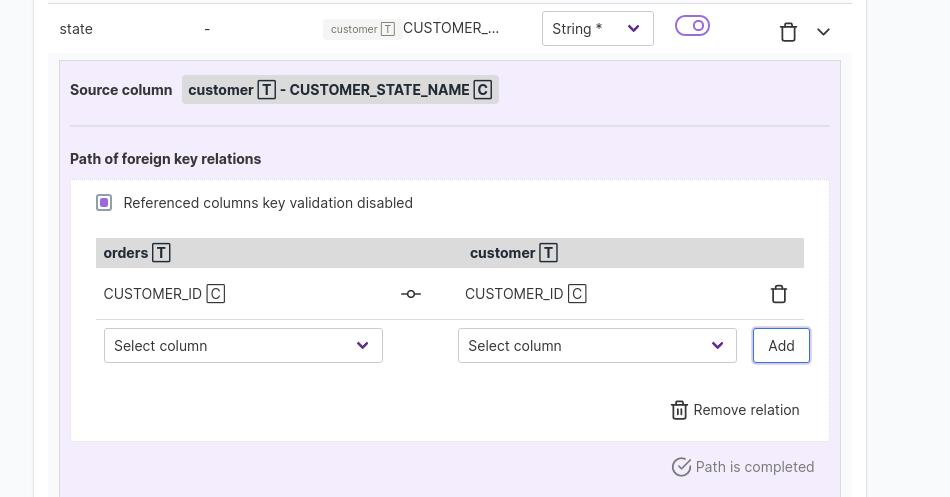
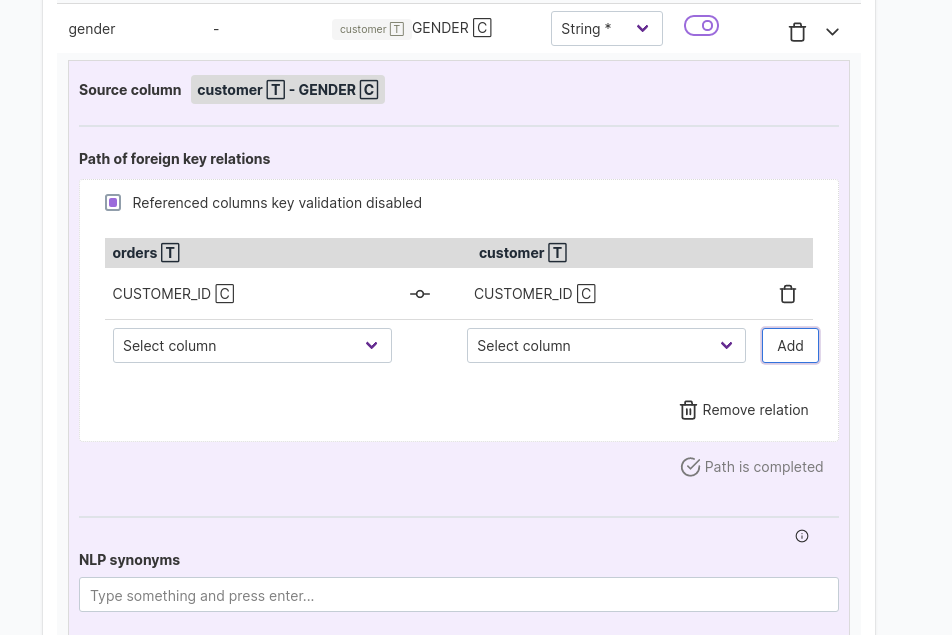
13 similarly bring subcategory from product and state, gender, age group from Customer
Named Aggregate:
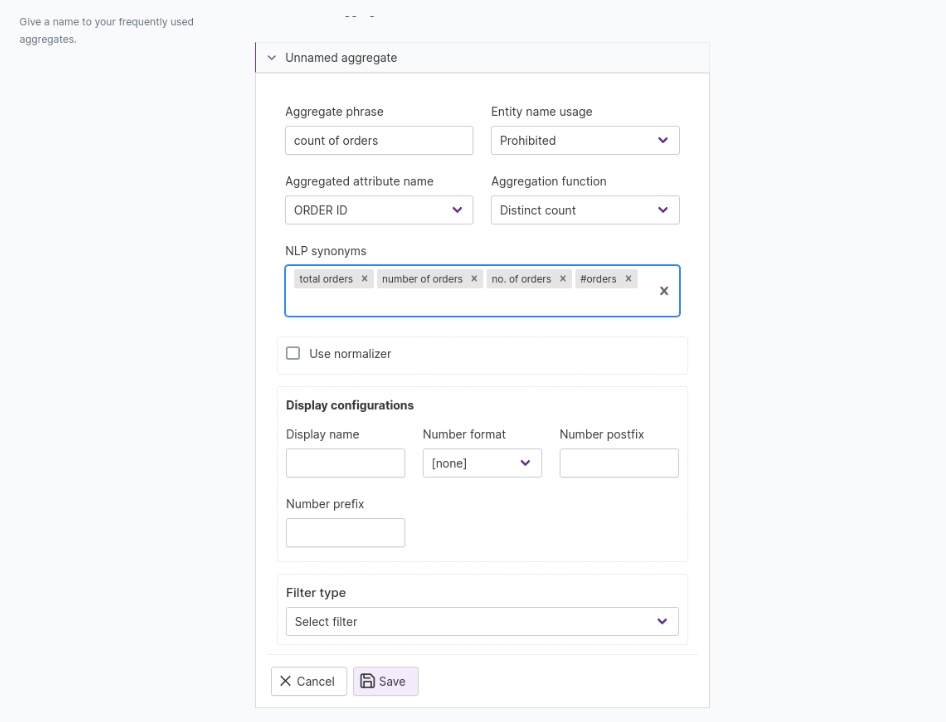
Count of orders
1 Each order has unique order id. So distinct count of order ids present in data set will provide us value of total orders.
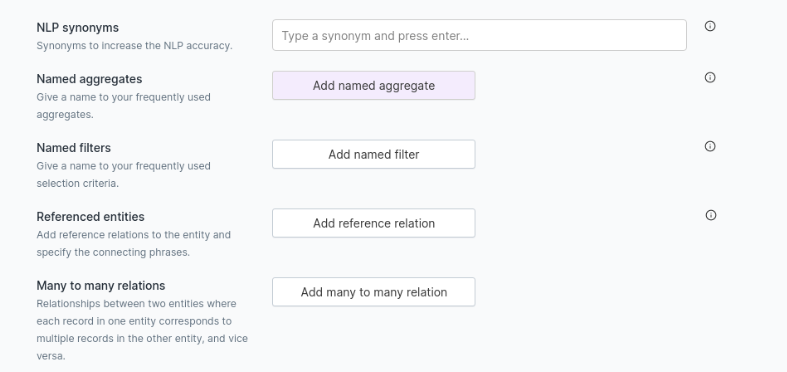
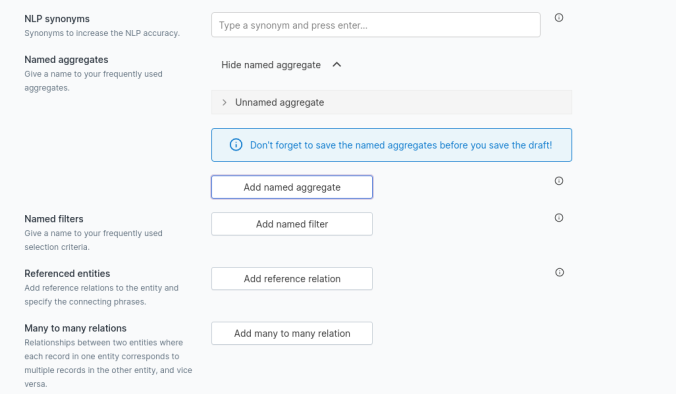
2 Click on
Add named aggregate3 click on collapsible button
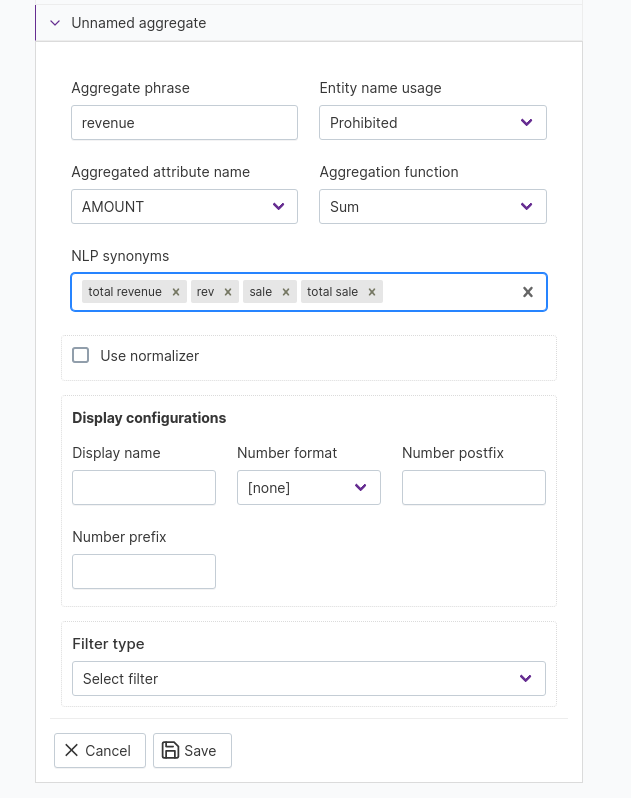
Unnamed aggregate4 Provide aggregate phrase as
count of orders5 Use
Order idas Aggregated attribute andDistinct countas Aggregation function6 Provide NLP synonyms. e.g total orders,number of orders,no. of orders, #orders etc
7 Click on
savebuttonRevenue
Named filter:
for elctronics: We will filter out records correspond to category Electronics
1 Click on
Add named filter2 click on collapsible button
Unnamed filter3 Provide filter phrase as
for electronics4 Provide NLP synonyms. e.g with electronics category etc
5 Use following in filter condition:
6 Click on
savebutton
Configure analytics
Variance insights
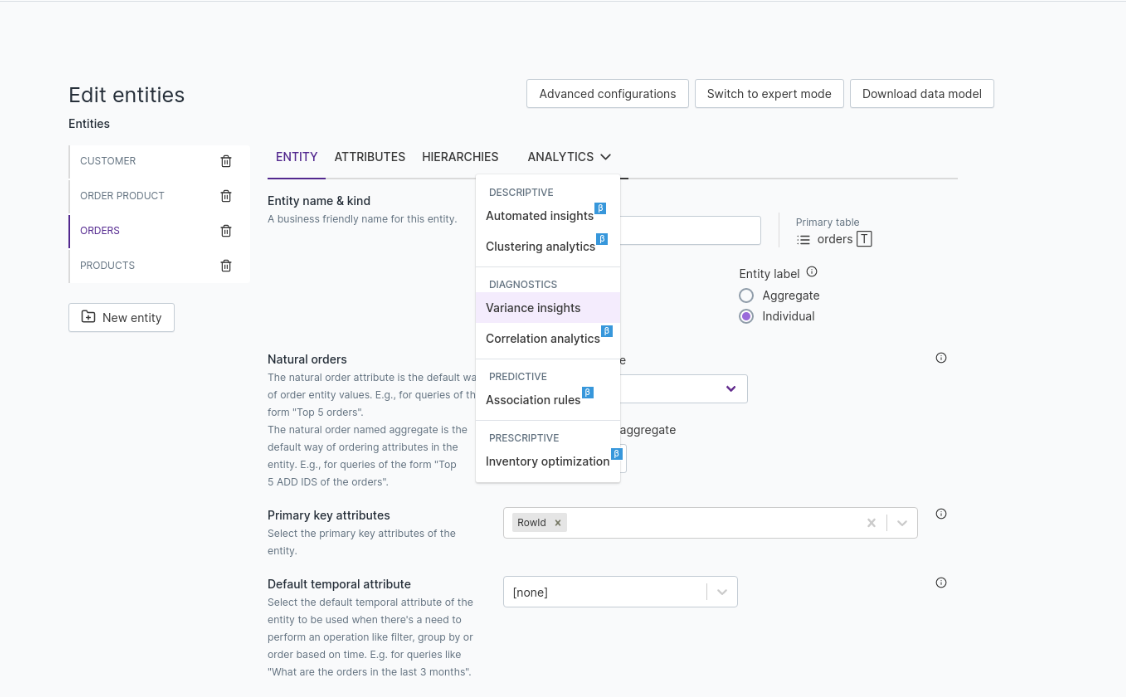
Go in order entity. Select
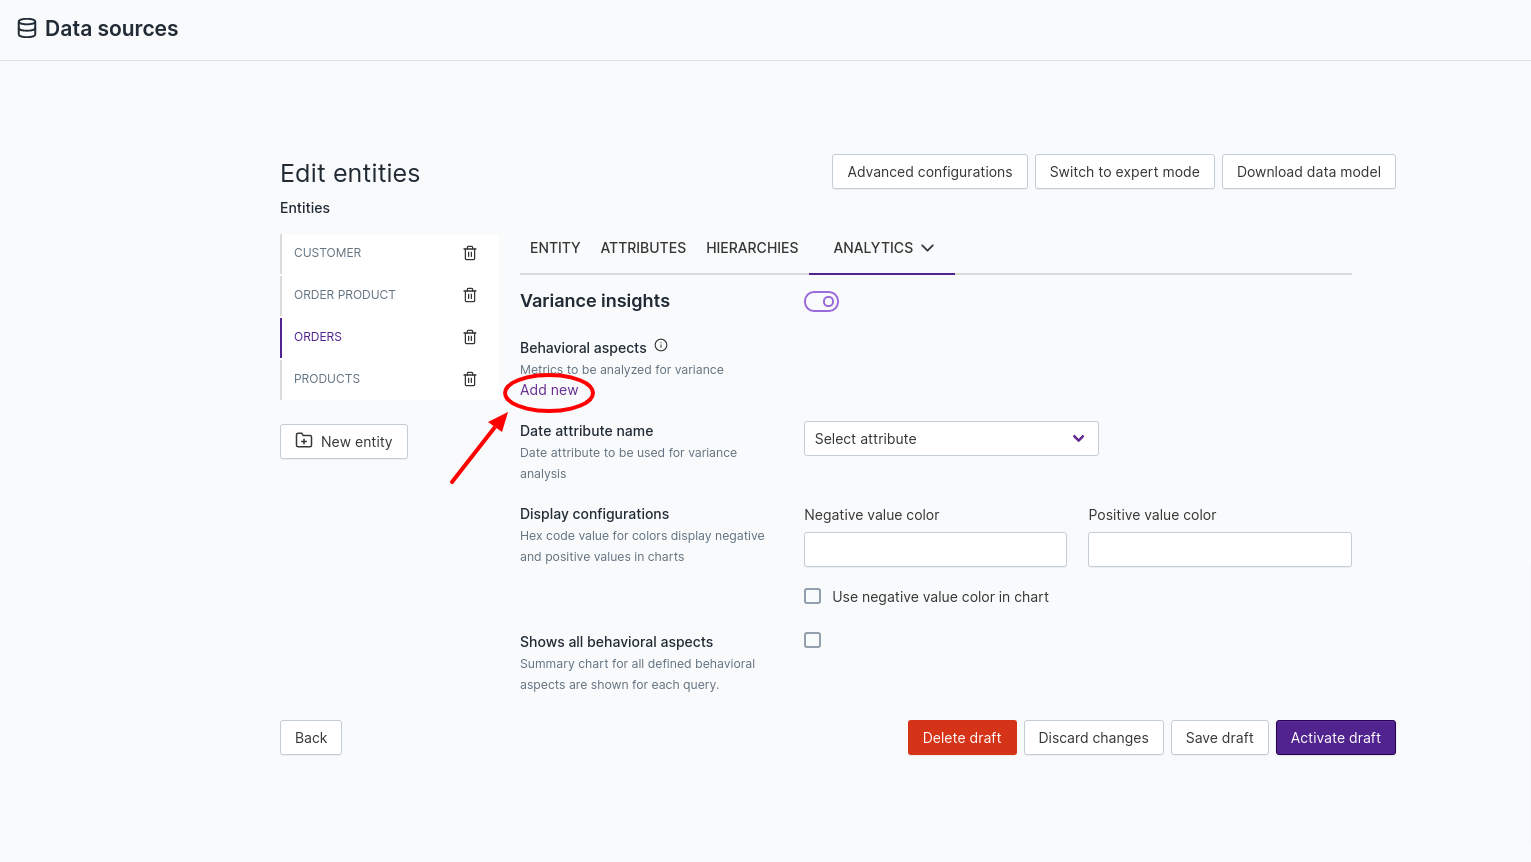
ANALYTICStab and click onVariance insights.Enable variance insights and click on
Add newto add behavioral aspects.Select
revenuenamed aggregate and click onExpand.Click on
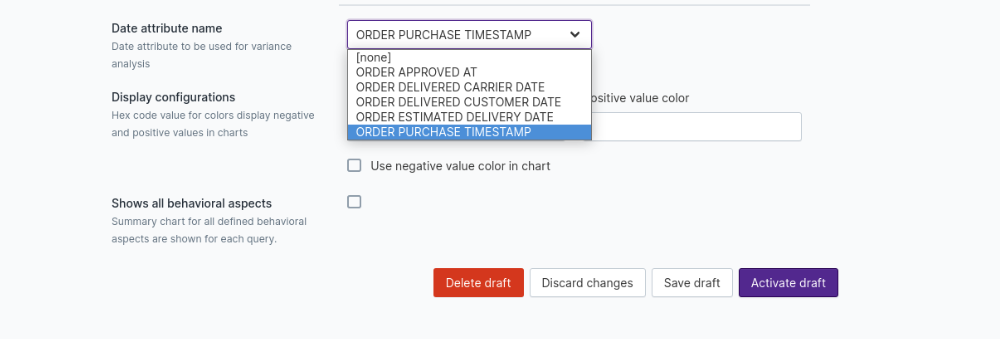
Add new possible related aspectand addage group,gender,age group,category,subcategoryandpayment typeone by one.Select order purchase date as date attribute.
Save draft
Click here to know more about variance analysis.
Configure thesaurus
Configure thesaurus to provide synonyms to complex queries.
Give
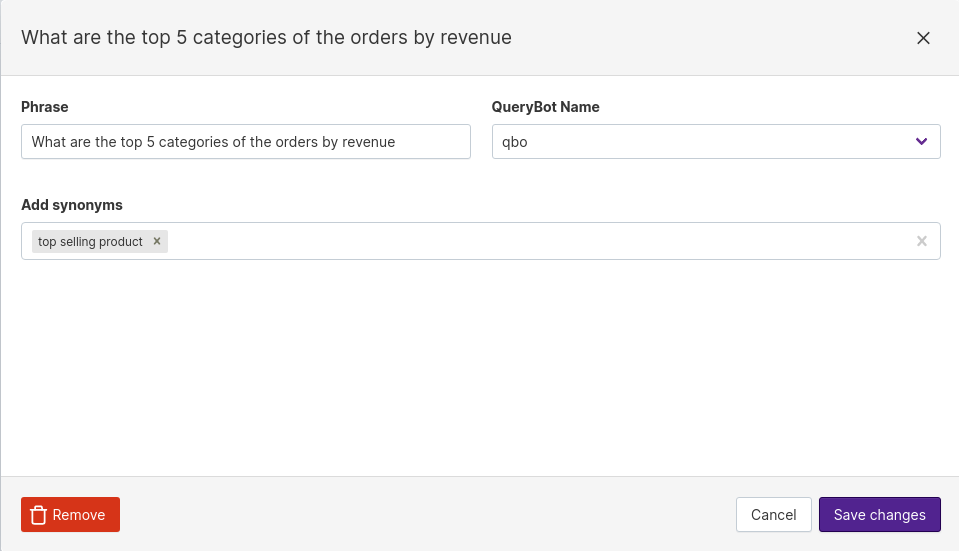
top selling productas synonym to a queryWhat are the top 5 categories of the orders by revenue.Steps:
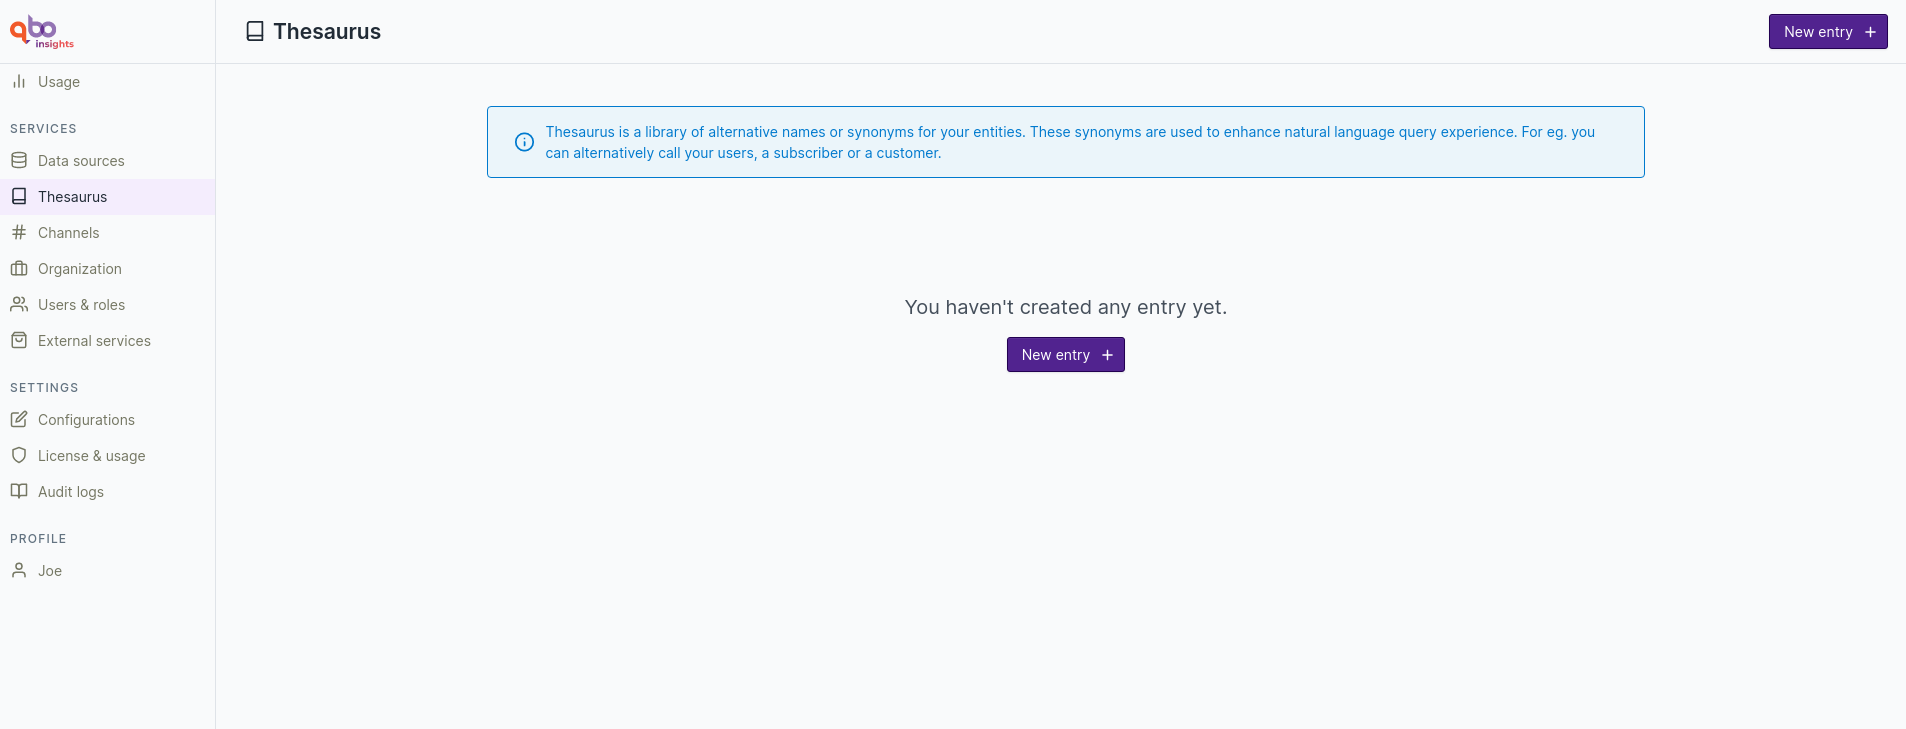
1 Go to thesaurus.
2 Click on
New entry.3 Fill following info:
4 Click on
Save changesNow you don’t need to ask long query. If you ask top selling product then it will point to a canonical query What are the top 5 categories of the orders by revenue.
